A room divider can transform compact interiors into multi-use spaces by adding zones and providing privacy and separation. It can be made out of many things, including curtains, and that’s the most economical and cost-effective method. Do you want to learn this simple DIY technique to make a chic room divider using curtains? Today’s topic provides the necessary insights into this title.
The Creative & Efficient Technique To Create A Curtain Divider
Before we dive deep into explaining this method of making a room divider using curtains, let’s briefly explain the important advantages of using curtains as room dividers.
The Incredible Perks & Pros of Having Curtains As Room Dividers
Whether it’s residential or commercial interiors, curtains used as room dividers offer aesthetic and practical advantages.
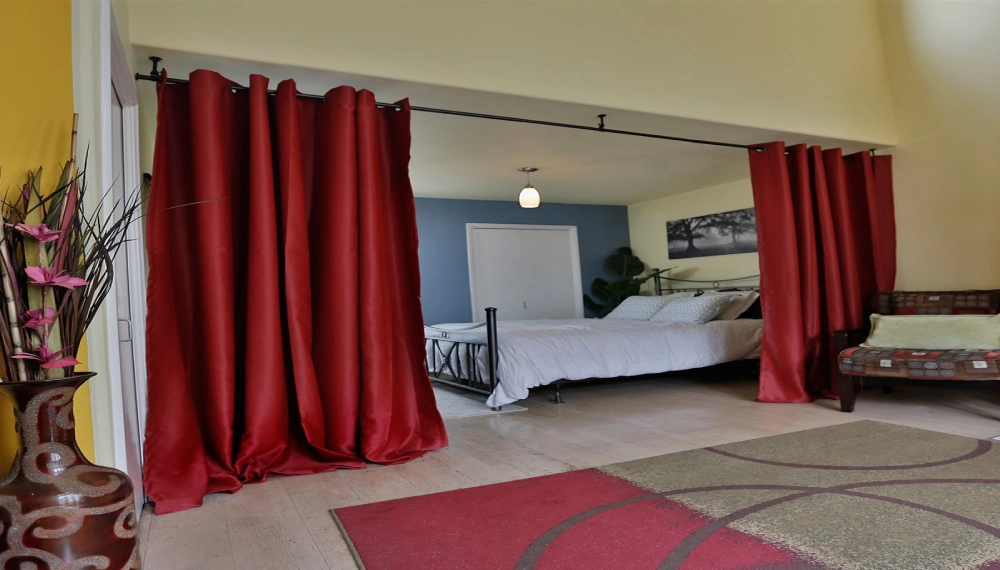
- The first and foremost reason to use curtains as room dividers is absolute privacy via zoning out the space from the rest of the interior.
- In commercial spaces, thick-layered curtains create separate work zones to improve the focus and productivity of employees at a cost-effective price.
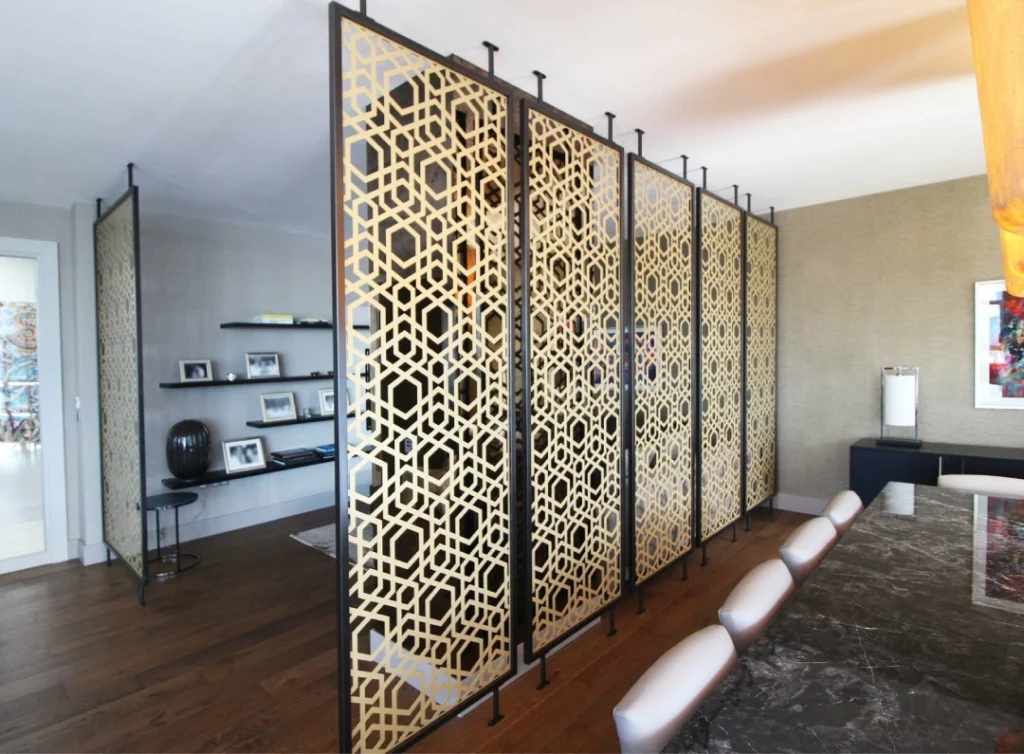
- You can use printed/patterned curtains to catch the attention of the eyes and create a focal point in the interior.
- For a live-in or shared apartment, blackout curtains used as room dividers provide absolute light control to help you sleep comfortably.
- Using curtains as room dividers is not just cost-effective but also temporary and can be removed after the issue/need has been resolved/fulfilled.
The Tools/Materials Required For This DIY Task
The following tools and materials are a must-have if you desire to DIY transform your room into different zones using curtains.
- Curtains
- Curtain Rod/Tension Rod (Depending on Aesthetic Preferences)
- Wall Hooks/Brackets
- Measuring Tape
- Drill & Screws (Only for Standard Curtain Rod)
- Scissors
- Level (To Assess the level of brackets)
- Fabric Glue
- Nylon Wire/Durable Cord (Optional)
- Ceiling Hooks
- Command Hooks
The Two Possibilities Explained
- You can use a curtain rod to divide the room by hanging curtains and that’s a laborious process but a long-lasting and durable solution.
- You can use a durable nylon wire/cord to hang lightweight curtain panels like sheer/silk curtains and protect your privacy by creating a separate zone.
1. Measure The Desired Zone
First of all, you need to assess what zone/zones you want to divide in the interior using curtains. This can be roughly done via a guess or estimate to create a room divider. Mostly, people create dividers in rooms to protect their privacy.
Whatever the reason may be, you need to assess the desired region and measure the width and length of the space using a measuring tape. Do it twice for accurate measurements. Also, take the vertical distance (height) from the floor to the ceiling for calculating the length of the curtains.
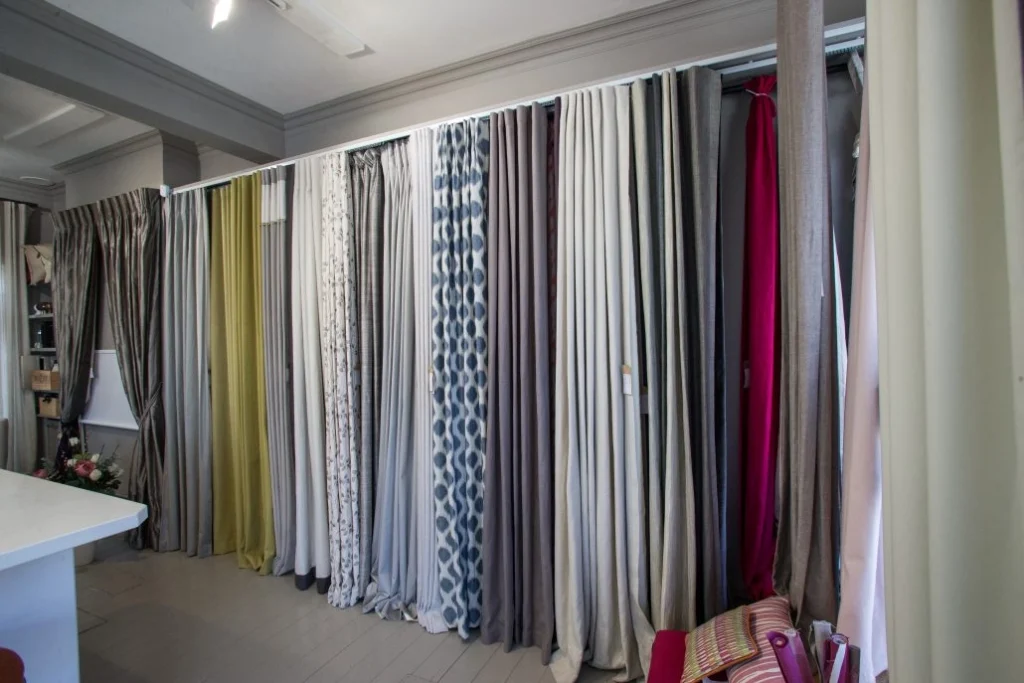
2. Select Your Curtains
Your choice of curtains for dividing the room is directly related to the level of privacy you desire and your purpose for creating a divider, such as noise alleviation, light filtration, etc. In this regard, you already know that blackout curtains offer complete light blockout and sheers offer an enriched, diffused interior glow with privacy protection.
Don’t forget that if you desire to attain a chic outlook, it’s better to experiment with interesting textures and printed/patterned varieties in vibrant colors.
3. Decide On The Curtain Installation Method
It’s time to decide whether you want to hang curtains using a standard rod, tension rod, or a durable cord for dividing the room. For standard curtain rods, you need to install rod brackets by drilling holes and tightening screws. If you don’t want this to happen to avoid aesthetic damage, you can use a tension rod to hang curtains. The last option is to use a nylon cord/string to hang curtains.
4. Install The Curtain Rod
There can be two different approaches to installing curtain rods i.e. wall-mounted and ceiling-mounted curtain rod installation. For wall-mounted standard curtain rod installation, you need to mark the spots for the installation of brackets using a pencil and measure the level of height accuracy before drilling holes (in the case of standard rod).
For tension rods, there’s no need to drill holes. For ceiling-mounted curtain rods, you need to assess the exact location where you want the rod installed and drill holes in the ceiling. Then, you can install curtain ceiling mounts to hold the rod in place.
To hang the curtains using string/cord, you need to cut the cord according to the length and width required. Then, place a command hook on the wall to attach one end of the cord and tie a knot there. Apply glue to the knot to keep the cord fixed in place.
Now, pass the curtains through the open end of the string/cord to hang them. If you want to divert the cord and don’t want to let it pass straight to the opposite end, you can mount a ceiling hook to divert the cord/string. Then, place another command hook on the opposite wall end to attach the open end of the cord/string to fix it, and hang the curtains.
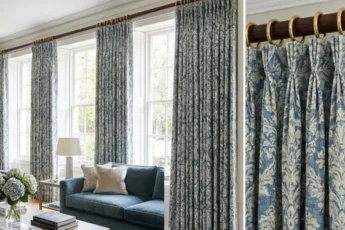
5. Customize The Curtain Divider
You can customize the curtain room divider using decorative tiebacks and curtain rings/hooks for hanging. Besides, if you want to use curtain rods to make a room divider, you can enjoy the benefit of layering curtains for a multi-purpose room divider. Don’t forget to choose curtains in desired patterns/prints/designs to uplift the charm and appeal of your room interior. No need to mention that you can create a focal point in the interior using this curtain room divider.
The Endnote
Curtains can be used to divide rooms and create zones in commercial workspaces as a cost-effective and efficient DIY solution. In today’s post, we’ve summarized all the necessary tools and materials required for this process. Plus, we’ve explained using curtains as room dividers in simple and easy-to-understand steps. Follow the guidelines carefully and precisely to use curtains as room dividers simply yet effectively.


Leave a Comment